



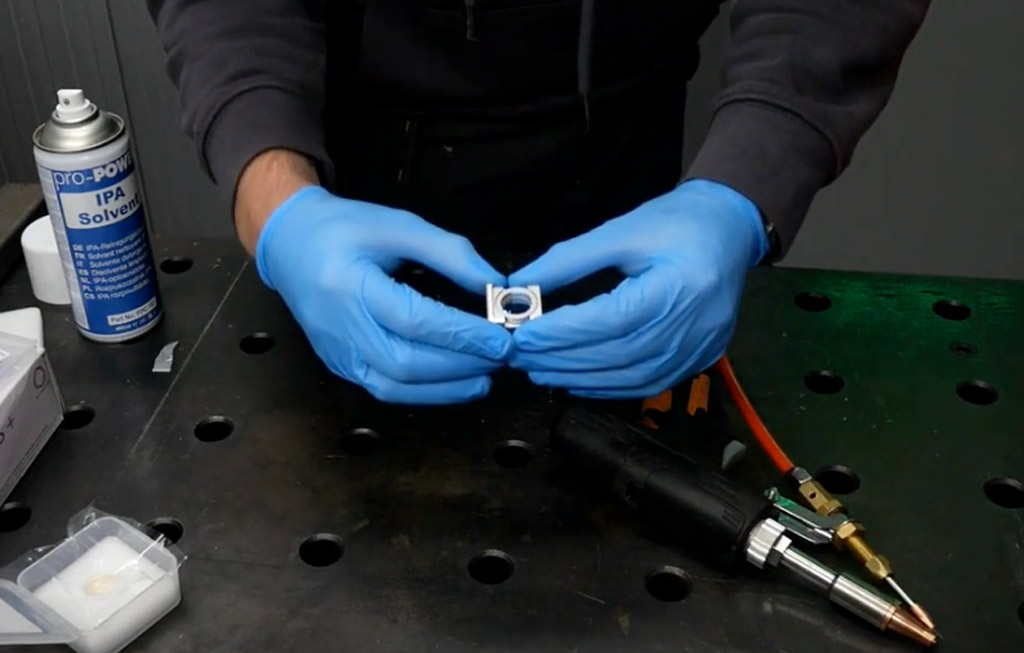
06 Oct How to Change a Focal Lens on a Laser Welder (Step-by-Step Guide)
Swapping the focal lens on your laser welder is a quick job you can do yourself, as long as you follow the right steps. This guide is for laser welder owners and operators, whether you’re new to laser welding or just want a refresher.
By the end, you’ll know how to take out the old lens, fit the new one the right way round and get the cartridge back in without letting dust into the welding head.
We’ve filmed the whole process too, so you can watch along before you start or follow the written steps below.
Make sure to completely unplug and power down your machine first!
What You’ll Need
- Your laser welder, with access to the focal lens hatch and cartridge on the welding head
- A new replacement focal lens
- A clean surface to put the lens cartridge and old lens down on
Before You Start
- TURN OFF YOUR MACHINE!
- Unwrap the new lens first. Get the replacement lens out of its packaging before you open the welding head. That way the lens housing is open for as little time as possible.
- Only ever hold a lens by its edges. Never touch the glass surface of the old or the new lens.
- Keep dust out. The lens housing must be kept free of dust and dirt, so you’ll close the dust cap whenever the cartridge is out.
How to Change the Focal Lens: Step by Step
Step 1: Remove the lens cartridge
Open the focal lens hatch on the welding head and slide out the cartridge that holds the old focal lens.
Step 2: Close the dust cap straight away
As soon as the cartridge is out, close the dust cap over the opening. Don’t leave it open while you work on the lens, because that’s how dust and dirt get inside the welding head.
Step 3: Turn the cartridge over to find the gasket
Flip the cartridge over so the gasket (the seal that holds the lens in) is facing you.
Step 4: Unlock the gasket and lift off the top section
Turn the gasket 90° to release it, then lift off the upper section of the cartridge. Put it to one side on your clean surface.
Step 5: Take out the old focal lens
Lift the old lens out of the cartridge, holding it only by its sides, and set it down.
Step 6: Pick up the new lens by its edges
Take your unwrapped replacement lens, again holding it by the edges only so you don’t leave fingerprints on the glass.
Step 7: Find the convex side
Look at both faces of the lens. One side is flat, and the other curves outwards slightly. That curved side is the convex side. As our video puts it, “the convex side always points towards the nozzle.”
Step 8: Seat the lens in the cartridge
Place the new lens in the cartridge so the convex side faces the nozzle end. In the video, that means the convex side goes face down into the cartridge. Check that the lens is sitting flat and properly seated before you go any further.
Step 9: Refit the seal and lock it
Put the seal back on top of the lens and turn it 90° to lock it in place.
Step 10: Put the cartridge back in the welder
Open the hatch and slide the cartridge back into the welding head. Then close it up again so the housing stays sealed.
Tips and Common Mistakes to Avoid
- Fitting the lens upside down. This is the big one. Always check which side is convex before you fit the lens. The convex side faces the nozzle.
- Touching the glass. Fingerprints on a lens are easy to avoid. Handle both lenses by their sides only.
- Leaving the dust cap open. Close it as soon as the cartridge comes out, and keep it closed until you’re ready to put the cartridge back.
- Not seating the lens properly. Make sure the new lens sits flat in the cartridge before you put the seal back on.
- Forgetting to lock the seal. Turn it the full 90° so the lens is held securely.
- Unwrapping the lens at the last minute. Have the new lens out of its packaging before you start so the head is open for as short a time as possible.
Frequently Asked Questions
Which way round does the focal lens go in a laser welder?
The convex side, which is the side that curves outwards, always points towards the nozzle. The flat side faces away from it.
Can I touch the focal lens with my fingers?
No. Hold the lens by its sides only, both when you take the old one out and when you fit the new one.
Why should I close the dust cap when the cartridge is out?
Closing the dust cap straight away stops dust and dirt getting inside the welding head while the lens cartridge is out.
How do I open the lens cartridge?
Turn the cartridge over so you can see the gasket, then turn the gasket 90° and lift off the upper section. The old lens can then be lifted out.
How do I know the new lens is fitted correctly?
The convex side should face the nozzle, the lens should sit flat in the cartridge, and the seal should be turned 90° so it locks in place.
Need a Hand with Your Laser Welder?
Changing the focal lens on a laser welder is a quick job once you know the steps. Unwrap the new lens first, close the dust cap, handle the lens by its edges, fit it convex side towards the nozzle and lock the seal.
If you’re unsure about any part of the process or want advice on your machine, get in touch with the HPC Laser team.
We’re always happy to help.
Setting up a dedicated welding area? Take a look at our laser welding booths, or browse the full range of laser welding machines.

Sorry, the comment form is closed at this time.